本文我们来探讨Three.js中两个重要的概念:粒子和精灵,使用精灵Sprite,我们可以创建很多细小的有趣的场景,模拟雨滴雪花的效果;最后的实现效果,我们会将一组粒子渲染成几何体的样子,并且在几何体的形状之间进行来回切换,也就是我们说的粒子云切换效果,效果非常酷炫。
相信不少同学之前看到过腾讯互动娱乐案例,使用three.js的粒子进行切换,效果非常的震撼;本文我们就来看下这样的效果是如何实现的:

最终我们实现这样一个切换的效果:
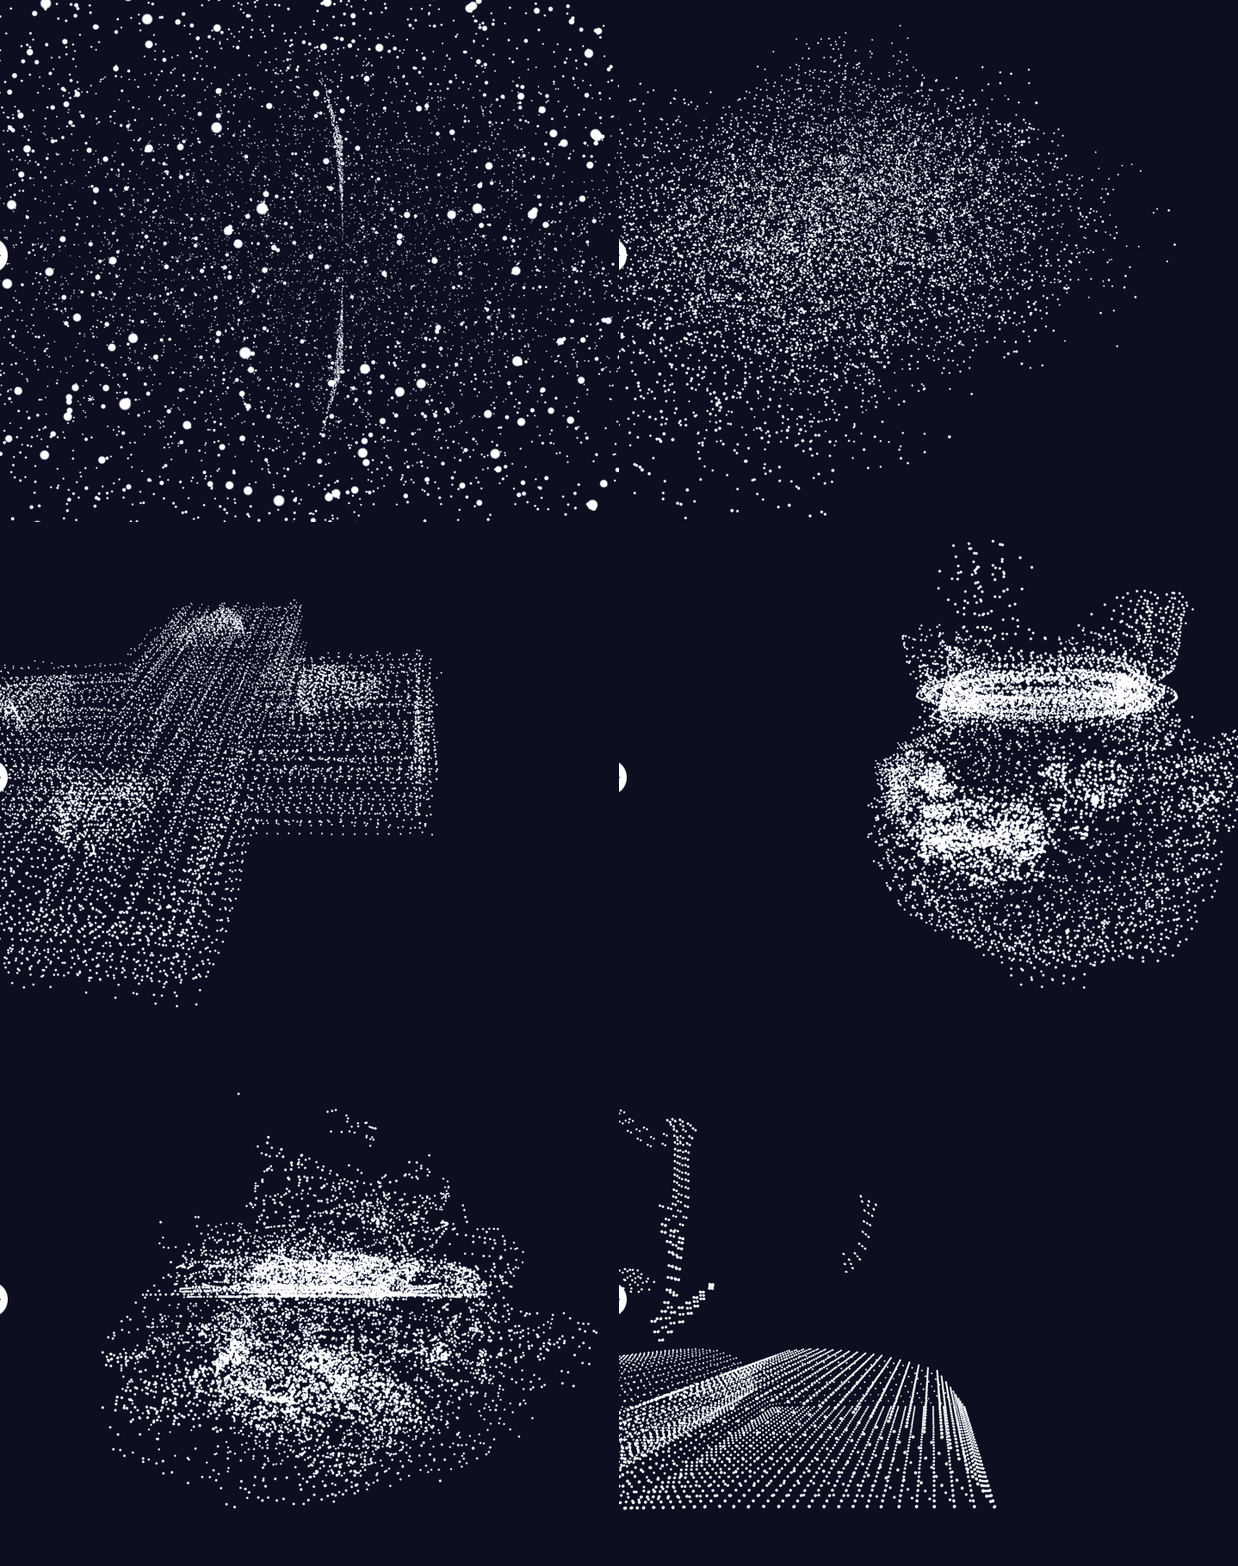
本文的最终实现效果可以点击访问
在实现这个效果之前,我们还是老规矩,先来讲一下粒子的基础知识,只有把基础知识搞清楚了,我们才能够知道后面的粒子是如何来移动变换位置的;那么本文涉及到的three.js的基础知识主要就是两个:
精灵Sprite
Sprite(翻译过来就是精灵)是一个总有面朝着摄像机的平面,它和网格模型Mesh一样,父类都是Object3D,因此他们有一些共同的属性和方法;不同的是Mesh是一个三维的物体,而Sprite本质上是二维的平面。
Sprite没有阴影效果,设置了castShadow也无法产生阴影。
查看源码可以发现,Sprite和Mesh一样,都是继承自Object3D:
|
import { Object3D } from '../core/Object3D.js';
class Sprite extends Object3D {
}
|
利用Sprite我们可以实现下雨下雪、火焰爆炸等一些效果,同时利用总是朝着摄像机的特性,我们还可以通过Sprite在一些场景中添加标签,以达到点击的目的。
Sprite的创建相较于Mesh则更为简单,由于它只是一个二维的平面,因此不需要创建几何体Geometry,只需要提供一个精灵材质对象SpriteMaterial,它的父类也是Material,因此也可以设置map贴图、颜色color。
我们下面来创建一个20*20的Sprite矩阵,给每个粒子指定位置position以及设置随机的颜色:
| for (let i = 0; i < 20; i++) {
for (let j = 0; j < 20; j++) {
const material = new SpriteMaterial({
color: Math.random() * 0xffffff,
});
const sprite = new Sprite(material);
sprite.position.set(i * 4, j * 4, 0);
scene.add(sprite);
}
}
|
运行看效果,我们能看到一个五彩斑斓的矩阵:
Sprite默认是矩形形状,长宽都是1,对于透视相机而言,Sprite和Mesh同样遵循近大远小的投影规律,因此我们看到上面的矩阵中,左下角的点是最大的,越往右上角,点越小。
Sprite的构造函数中并没有提供设置大小的属性,想要改变Sprite的大小,只能设置scale而不能设置长宽:
| const sprite = new Sprite(material);
sprite.scale.set(3, 3, 1);
|
Sprite模拟下雨效果
接下来我们来看下如何让Sprite模拟下雨的效果,首先我们下载雨滴的素材图片,通过TextureLoader加载到SpriteMaterial材质:
| const texture = new TextureLoader().load("/images/textures/rain.png");
const spriteMaterial = new SpriteMaterial({
map: texture,
});
|
然后在1000*1000*500的范围内,生成16000个随机的精灵Sprite:
| const group = new Group();
for (let i = 0; i < 16000; i++) {
const sprite = new Sprite(spriteMaterial);
group.add(sprite);
const x = 1000 * (Math.random() - 0.5);
const y = 500 * Math.random();
const z = 1000 * (Math.random() - 0.5);
sprite.position.set(x, y, z);
}
|
最后,在每次渲染时,不断的减少sprite的Y轴坐标,实现下落效果;而当小于一定阈值时,让雨滴重新回到天上重新开始下落的过程。
| class Index {
render() {
this.group.children.forEach((sprite, index) => {
sprite.position.y -= 1;
if (sprite.position.y <= -300) {
sprite.position.y = 500;
}
});
}
}
|
最后我们就能看到模拟下雨的效果了。
有一些雨滴在靠近镜头的时候会显得很大,我们可以控制镜头的near参数,过于靠近镜头的雨滴就不进行渲染了;我们初始化镜头的时候,将near设置为50,让雨滴在镜头内外,不进行渲染。
| - const camera = new THREE.PerspectiveCamera(30, width / height, 1, 2000);
+ const camera = new THREE.PerspectiveCamera(30, width / height, 50, 2000);
|
点击查看下雨的效果。
Points
对Sprite的特性有一定的了解后,我们再来看下Points;我们在实际涉及粒子的开发中,一般不太会用到Sprite,因为创建了大量的Sprite精灵,每个粒子都需要进行单独的管理,同时也会消耗更多的性能;更多的则是使用Points,也就是粒子集合,在处理大量对象的时候能够提供更好的性能。
从名称也能看出Sprite没有带s,而Points带有s,Points更适合用来处理大量粒子的场景。
Points的创建相较于Sprite会更加复杂一点,它的构造器接收两个参数,一个是形状,另一个是材质:
| new Points(BufferGeometry, PointsMaterial)
|
PointsMaterial和SpriteMaterial类似,都是材质对象,都有着类似的属性,而这里我们看到一个特殊的类:BufferGeometry(缓冲几何体);我们先来看下官网的绕口的定义:
BufferGeometry是面片、线或点几何体的有效表述。包括顶点位置,面片索引、法相量、颜色值、UV坐标和自定义缓存属性值。使用BufferGeometry可以有效减少向GPU传输上述数据所需的开销。
three.js中给我们提供了大量的、基础的内置形状:BoxGeometry立方形状、CircleGeometry圆形和SphereGeometry球形等等,还有一些奇异的形状,比如TorusGeometry圆环扭结几何体、IcosahedronGeometry二十面几何体等,但这些形状我们如果去查看源码,会发现它们无一列外的都是继承自BufferGeometry这个类:
| class BoxGeometry extends BufferGeometry {
constructor( width = 1, height = 1, depth = 1, widthSegments = 1, heightSegments = 1, depthSegments = 1 ) {
this.setIndex( indices );
this.setAttribute( 'position', new Float32BufferAttribute( vertices, 3 ) );
this.setAttribute( 'normal', new Float32BufferAttribute( normals, 3 ) );
this.setAttribute( 'uv', new Float32BufferAttribute( uvs, 2 ) );
}
}
class CircleGeometry extends BufferGeometry {
constructor( radius = 1, segments = 32, thetaStart = 0, thetaLength = Math.PI * 2 ) {
}
}
|
并且根据传入的长宽高、半径等值,生成顶点坐标position、法向量normal、纹理坐标uv等信息,并设置到几何体的属性中;因此BufferGeometry就是用来构建形状的一个基本类。
回到Points构建方式,我们可以将预置的形状传入到Points的构建函数中:
| const boxGeometry = new BoxGeometry(100, 100, 100, 6, 6, 6);
const material = new PointsMaterial({
color: 0xffffff,
size: 2,
transparent: true,
});
const point = new Points(boxGeometry, material);
|
就可以将我们的形状转换成粒子的形状了。
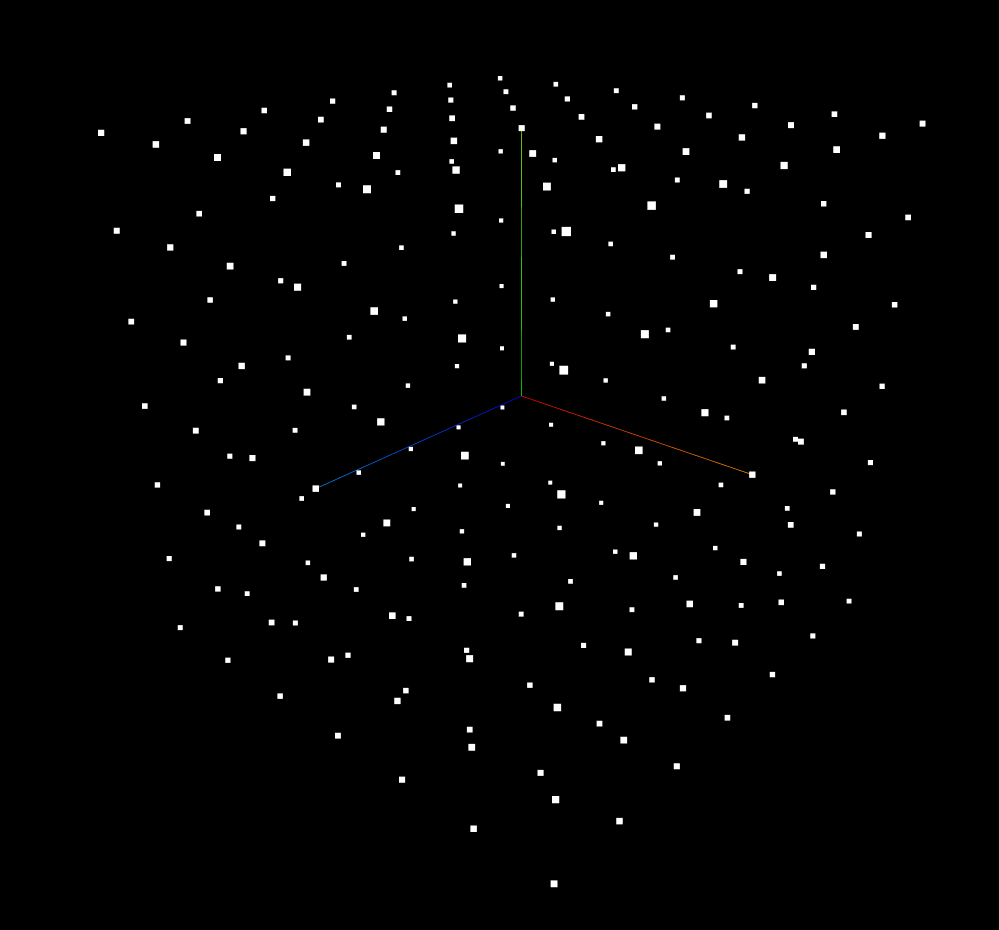
Points漫天飞雪效果
但是我们在实际开发中,并没有那么多中规中矩的内置形状可以用,更多的都是奇特的形状,所以就需要我们自己来定义形状,我们来看下怎么通过Points设置一系列的随机点,实现一种漫天的飞雪效果;我们新建一个BufferGeometry对象,通过setAttribute设置顶点坐标:
| import { Float32BufferAttribute } from "three";
const vertices = [];
for (let i = 0; i < 10000; i++) {
const x = Math.random() * 2000 - 1000;
const y = Math.random() * 2000 - 1000;
const z = Math.random() * 2000 - 1000;
vertices.push(x, y, z);
}
const geometry = new BufferGeometry();
geometry.setAttribute("position", new Float32BufferAttribute(vertices, 3));
|
这里的Float32BufferAttribute是BufferAttribute的一个子类,用于存储和管理几何体的属性数据,包括顶点位置、颜色、纹理等;Float32表示存储的是32位浮点数,这种精度也足够我们日常使用了;它接收第一个参数是一个数组,存储顶点的位置;第二个参数表示接收数组关联的数组值的数量,由于我们的顶点是3个数据确定一个XYZ坐标轴,因此这边传入3;如果是uv坐标的话,因为是二维数据,则传入2。
然后构建Points的流程和上面是一样的了,构建PointsMaterial的时候我们使用一张雪花的贴图:
| const tx = textureLoader.load("/images/textures/sprites/snowflake1.png", assignSRGB);
const material = new PointsMaterial({
size: 8,
map: tx,
});
const pt = new Points(geometry, material);
|
我们就可以看到满屏幕大大小小的雪花了,每个雪花其实都是一个随机的顶点:
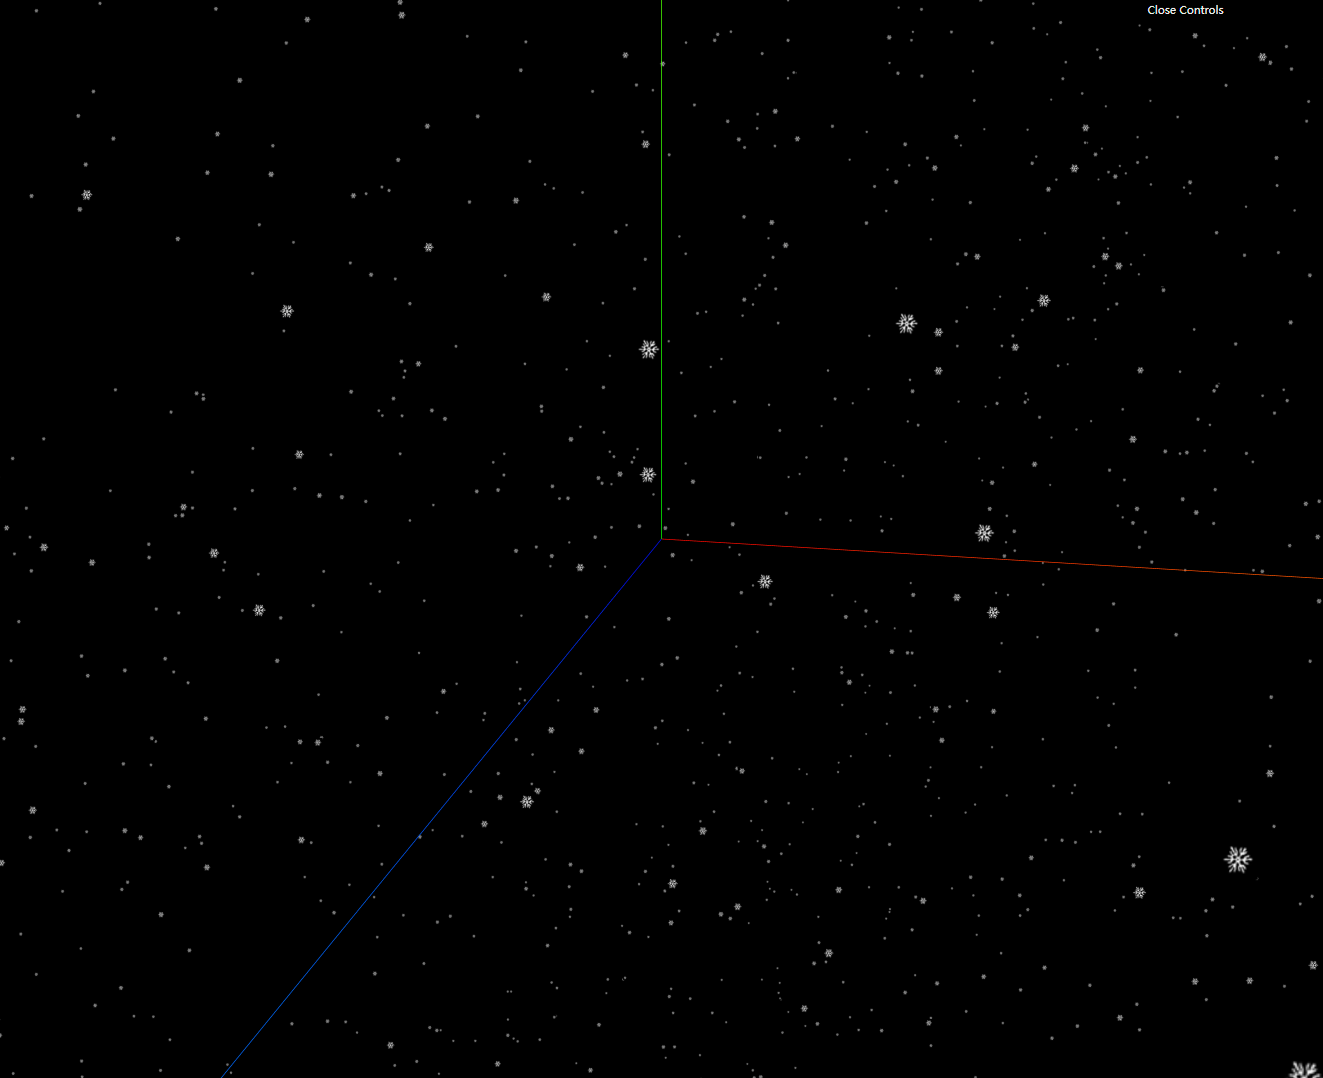
three.js的官方demo提供了五种雪花贴图,我们可以创建更多形状的雪花:
1
2
3
4
5
6
7
8
9
10
11
12
13
14
15
16
17
18
19
20
21
22
23
24
25
26
27
28
29
30
31
32
33
| const sprite1 = textureLoader.load("/images/textures/sprites/snowflake1.png");
const sprite2 = textureLoader.load("/images/textures/sprites/snowflake2.png");
const sprite3 = textureLoader.load("/images/textures/sprites/snowflake3.png");
const sprite4 = textureLoader.load("/images/textures/sprites/snowflake4.png");
const sprite5 = textureLoader.load("/images/textures/sprites/snowflake5.png");
const parameters = [
[[1.0, 0.2, 0.5], sprite2, 20],
[[0.95, 0.1, 0.5], sprite3, 15],
[[0.9, 0.05, 0.5], sprite1, 10],
[[0.85, 0, 0.5], sprite5, 8],
[[0.8, 0, 0.5], sprite4, 5],
];
for (let i = 0; i < parameters.length; i++) {
const color = parameters[i][0];
const sprite = parameters[i][1];
const size = parameters[i][2];
const material = new PointsMaterial({
size,
map: sprite,
});
material.color.setHSL(color[0], color[1], color[2]);
const pt = new Points(geometry, material);
pt.rotation.x = Math.random() * 6;
pt.rotation.y = Math.random() * 6;
pt.rotation.z = Math.random() * 6;
this.scene.add(pt);
}
|
我们能看到更多密密麻麻的雪花形状:
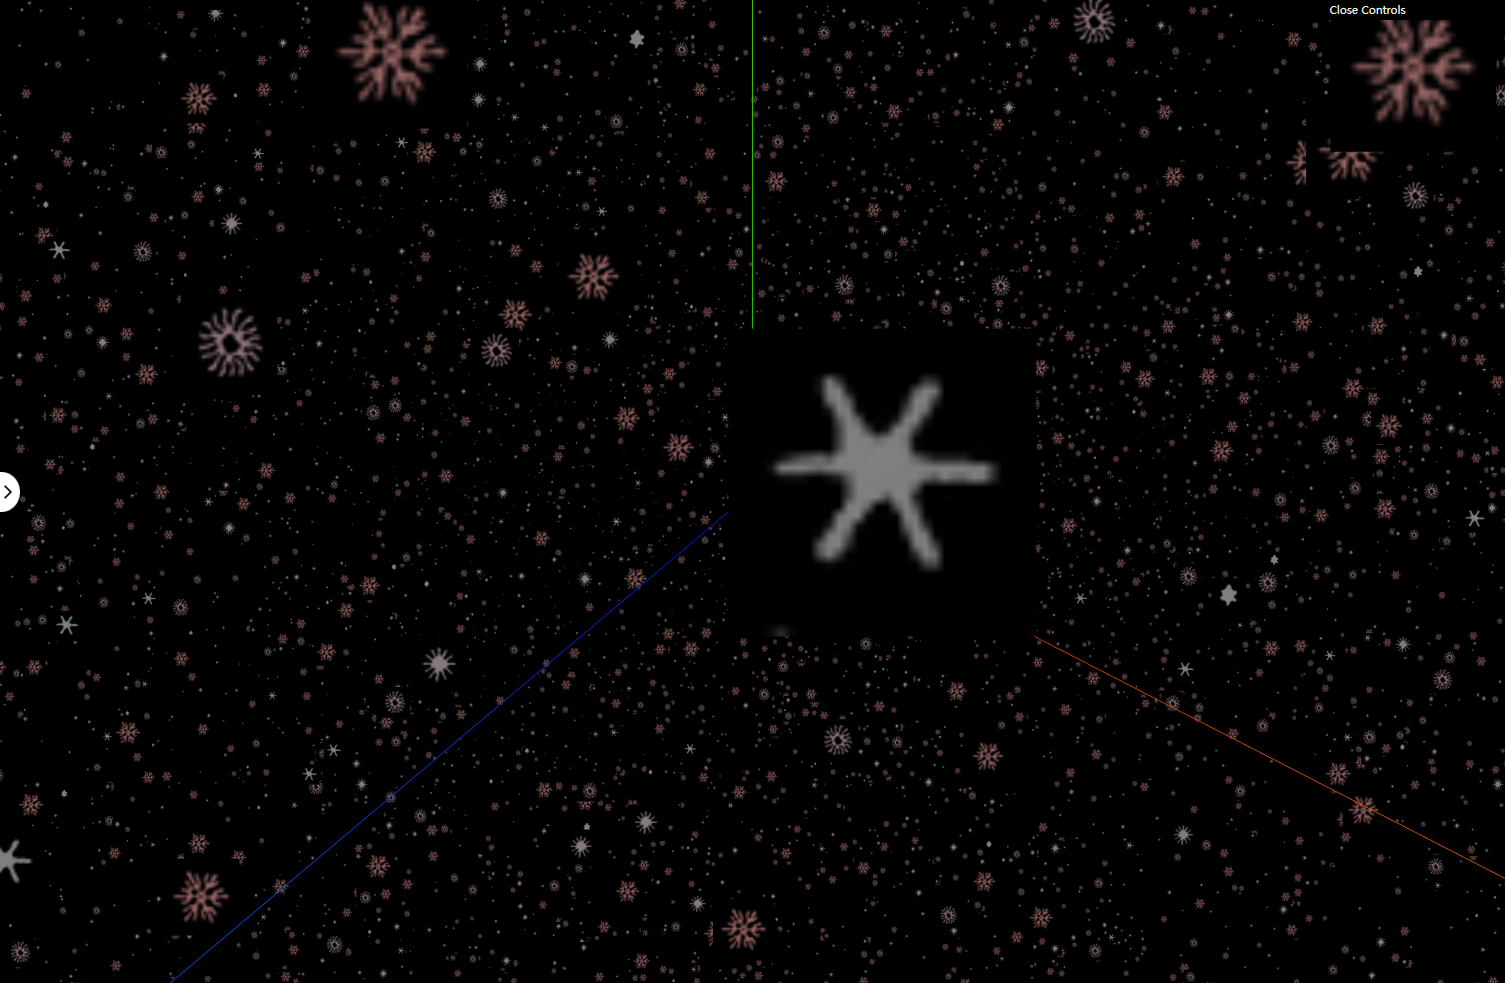
不过我们很明显发现雪花贴图有个不透明的背景,我们需要把背景设置成透明的。
| const material = new PointsMaterial({
size,
map: sprite,
+ transparent: true,
+ depthTest: false,
+ blending: AdditiveBlending,
});
|
在每次渲染的时候,让Points沿着y轴不停的旋转:
| const render = ()=>{
for (let i = 0; i < this.scene.children.length; i++) {
const obj = this.scene.children[i];
if (obj instanceof Points) {
obj.rotation.y = time * (i < 4 ? i + 1 : -(i + 1));
}
}
requestAnimationFrame(render);
}
|
我们就可以欣赏飞雪的效果了。
这里需要注意的是,初始化的视角位置要设置在(0,0,1000),而不是在场景的中心(0,0,0),在中心位置我们的视角会很奇怪,有种眩晕的感觉;而Points随机顶点的最大范围是在1000,将视角设置在边缘,就可以有一种雪花飘落快慢不一的感觉。
正所谓当局者迷,旁观者清。
本文的最终实现效果可以点击访问
模型切换
经过前文的几个案例学习,相信大家对Sprite和Points的用法也已经比较熟悉了,接下来我们看看如何让模型中的粒子运动起来;要让我们的模型变换,最重要的就是如何让Points中的每一个粒子能够运动到指定的位置。
首先我们通过两个简单的原始模型来简单模拟粒子的切换,我们从简单的模型开始,初始化一个盒子模型,实现从盒子BoxGeometry模型切换到圆形SphereGeometry的过程。
| const boxGeometry = new BoxGeometry(100, 100, 100, 6, 6, 6);
const sphereGeometry = new SphereGeometry(100, 12, 12);
const material = new PointsMaterial({
color: 0xffffff,
size: 2,
transparent: true,
});
const point = new Points(boxGeometry, material);
this.point = point
this.scene.add(point);
|
我们封装一个changeGeometry的函数,传入我们想要变换后的模型,因此这个changeGeometry函数的实现逻辑就非常重要了,决定着最终切换的效果:
| const changeGeometry => (toArray) => {
}
|
我们取出切换后模型中的顶点数组toArray,是切换后的数组;而this.point中的顶点数据是切换前的数据,看似toArray就是我们所需要的切换后的数据;我们会发现,此时面临着一个非常棘手的问题:
变换前后两个模型的顶点数组长度不一致怎么处理?
在changeGeometry函数中,我们需要通过Tween.js,将this.point中的顶点数据,进行移动到不同的位置上;因此我们的目的明确了,需要移动后的顶点数据定义为X数组。
因此我们先考虑第一种情况,也是最简单的情况,就是两者长度相等,那么我们需要的X数组就是toArray数组的数据,那么问题就解决了。
下面我们考虑第二种情况,也比较简单,就是切换前的this.point中的顶点数据比切换后的toGeometry中的数据要少;直观的感受就是顶点数据不够了。

这种情况最极端的案例就是,开始有一个顶点数据,最后有十个顶点数据,这种变换明显切换后的模型肯定是会缺少部分顶点,只有开始的那一个顶点数据能够实现变换,因此我们需要的X数组就是将toGeometry的数组中截取同样长度的数据数组;我们需要再定义一个mixFloatArray函数进行顶点数据的处理:
|
const mixFloatArray = (fromList, toList) => {
const froms = Array.from(fromList);
const tos = Array.from(toList);
if (froms.length === tos.length) {
return { ...tos };
} else if (froms.length < tos.length) {
return { ...tos.splice(0, froms.length) };
} else if (froms.length > tos.length) {
}
};
|
这里fromList和toList都是传入模型的geometry.attributes.position.array,都是类数组,我们使用Array.from转为数组后再进行操作;而处理后的数据我们需要放到Tween的to函数中,它接收一个对象,因此我们需要将处理号的数组再转换成对象。
这种情况基本不会出现,因此我们在初始化顶点的时候要初始足够多的顶点数据,保证能够覆盖所有的模型。
第三种情况就比较复杂了,就是切换前的this.point中的顶点数据比切换后的数据要来的多,直观的感受就是顶点数据多了,那么把多余的顶点放到哪里呢?

我们先试着生成随机数进行补足:
1
2
3
4
5
6
7
8
9
10
11
12
13
14
15
16
17
18
19
20
21
| const getRandomNum = () => {
return 2000 * Math.random() - 1000;
};
const mixFloatArray = (fromList, toList) => {
const froms = Array.from(fromList);
const tos = Array.from(toList);
if (froms.length === tos.length) {
return { ...tos };
} else if (froms.length < tos.length) {
return { ...tos.splice(0, froms.length) };
} else if (froms.length > tos.length) {
const newArr = [];
for (let i = 0; i < froms.length - tos.length; i++) {
newArr.push(getRandomNum());
}
return { ...tos.concat(newArr) };
}
};
|
我们切换后的顶点数据有了,回到我们的changeGeometry函数,我们获取切换后的数组tos,使用Tween将this.point中的顶点数据切换到tos,在onUpdate中更新每个顶点的数据:
1
2
3
4
5
6
7
8
9
10
11
12
13
14
15
16
17
18
19
20
21
22
23
| const changeGeometry = (toArray, duration = 1500) => {
const nowFloatArray = this.pt.geometry.attributes.position.array;
const tos = this.mixFloatArray(nowFloatArray, toArray);
this.isChanging = true;
new Tween.Tween({
...Array.from(nowFloatArray),
})
.to(tos, duration)
.easing(Tween.Easing.Quadratic.InOut)
.onComplete(() => {
this.isChanging = false;
})
.onUpdate((pos) => {
for (let key in pos) {
const val = pos[key];
const idx = Number(key);
this.pt.geometry.attributes.position.array[idx] = val;
}
this.pt.geometry.attributes.position.needsUpdate = true;
})
.start();
};
|
调用changeGeometry只需要传入我们切换后的模型顶点数据,即可实现切换效果:
| const boxGeometry = new BoxGeometry(100, 100, 100, 6, 6, 6);
const sphereGeometry = new SphereGeometry(100, 12, 12);
const point = new Points(boxGeometry, material);
setTimeout(() => {
changeGeometry(sphereGeometry.attributes.position.array);
}, 1000);
|
我们看下从BoxGeometry切换到SphereGeometry的效果,由于BoxGeometry的顶点数量更多,因此多余的顶点会向四周四散开来:
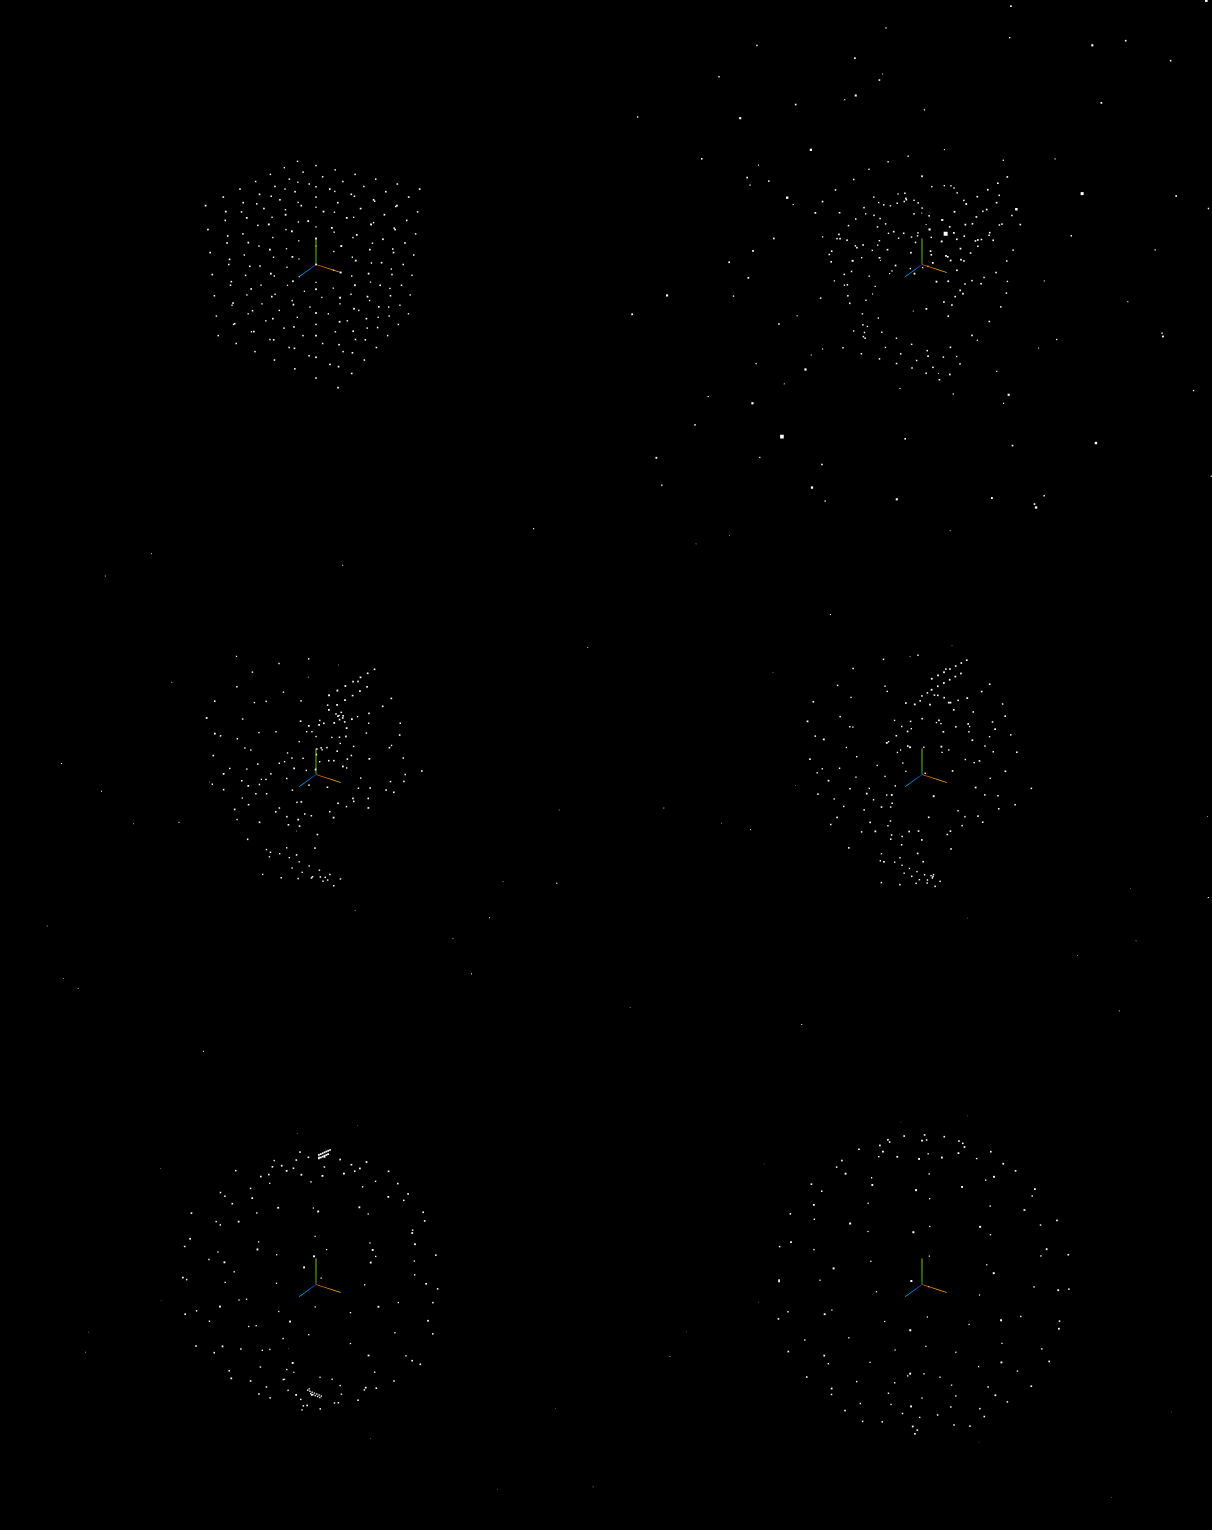
切换效果优化
我们上面实现了基本的切换效果了,不过上面生成随机数的方式效果并不是很好,因此我们可以通过一些优化来提升切换效果;我们继续优化mixFloatArray函数,对于补足的部分,我们不再生成随机数,而是使用fromList后面的数据进行补足:
注意:下面我们讨论的优化都只针对第三种情况,也就是fromList的数据比toList多的情况下。

体现到代码上,我们直接截取fromList的后面部分,然后拼接到toList上:
| const mixFloatArray = (fromList, toList) => {
const froms = Array.from(fromList);
const tos = Array.from(toList);
if (froms.length === tos.length) {
return { ...tos };
} else if (froms.length < tos.length) {
return { ...tos.splice(0, froms.length) };
} else if (froms.length > tos.length) {
const newArr = froms.slice(tos.length);
return { ...tos.concat(newArr) };
}
}
|
我们看下切换效果,我们发现大部分顶点是没有移动的,只有数据不同的顶点才会移动,这也符合我们的代码实现逻辑。
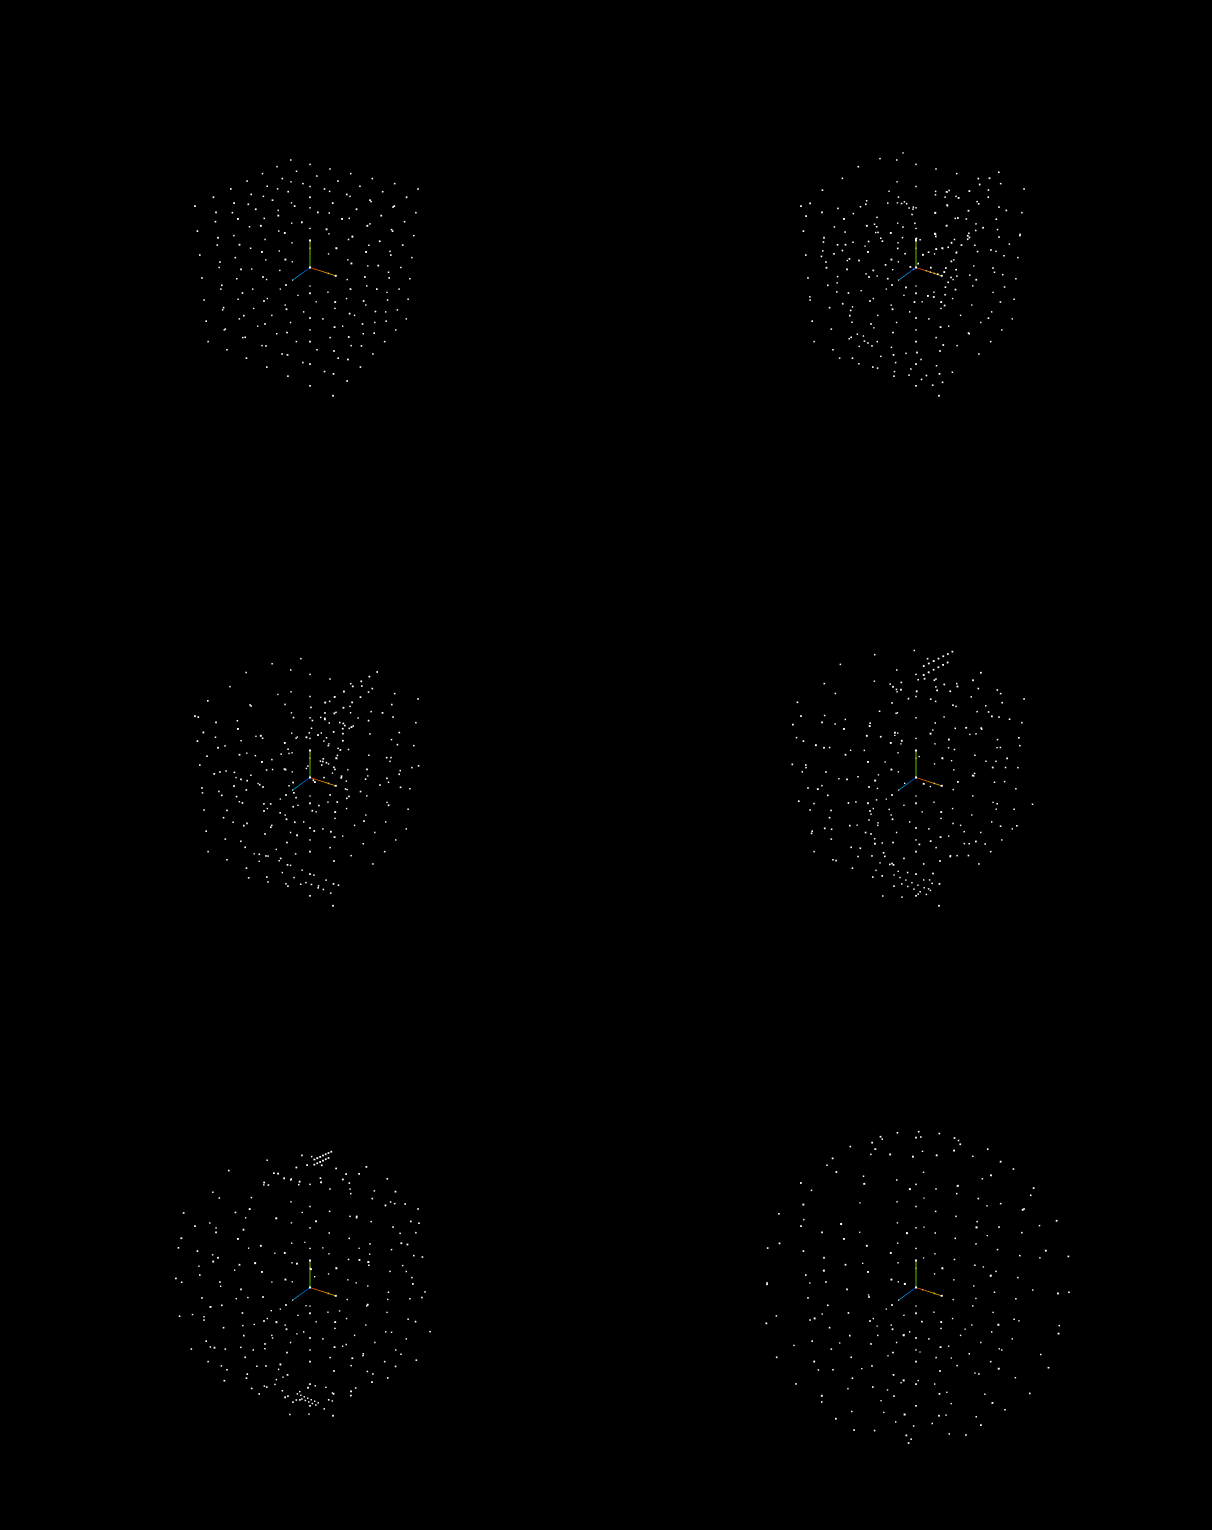
但是这样的效果和我们想要的效果不一致,我们继续优化mixFloatArray逻辑;我们发现直接截取fromList补足会导致部分顶点不移动,同时我们又要保证处理后的toList的数组长度和fromList的长度相同。
这里我们想到可以对toList的数组进行复制,复制N次后,再截取部分数据M,拼接到原来数据上,就可以实现长度相同的效果;同时两个数组的数据还不会有重复的,这里利用了模数和余数的概念,对其不了解的同学可以自行百度:
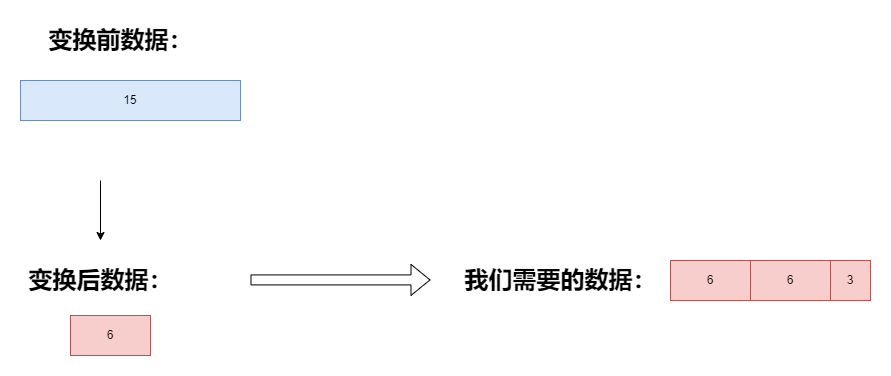
体现到代码上,实现逻辑如下:
1
2
3
4
5
6
7
8
9
10
11
12
13
14
15
16
17
18
19
20
21
22
23
24
25
26
27
28
29
|
const getMod = (num1, num2) => {
return [Math.floor(num1 / num2), num1 % num2];
};
const mixFloatArray = (fromList, toList) => {
const froms = Array.from(fromList);
const tos = Array.from(toList);
if (froms.length === tos.length) {
return { ...tos };
} else if (froms.length < tos.length) {
return { ...tos.splice(0, froms.length) };
} else if (froms.length > tos.length) {
const newArr = [];
const len = froms.length - tos.length;
const [n1, n2] = getMod(len, tos.length);
for (let i = 0; i < n1; i++) {
newArr.push(...tos);
}
newArr.push(...tos.slice(0, n2));
return { ...tos.concat(newArr) };
}
};
|
我们看下优化后的效果,已经基本令人满意了:
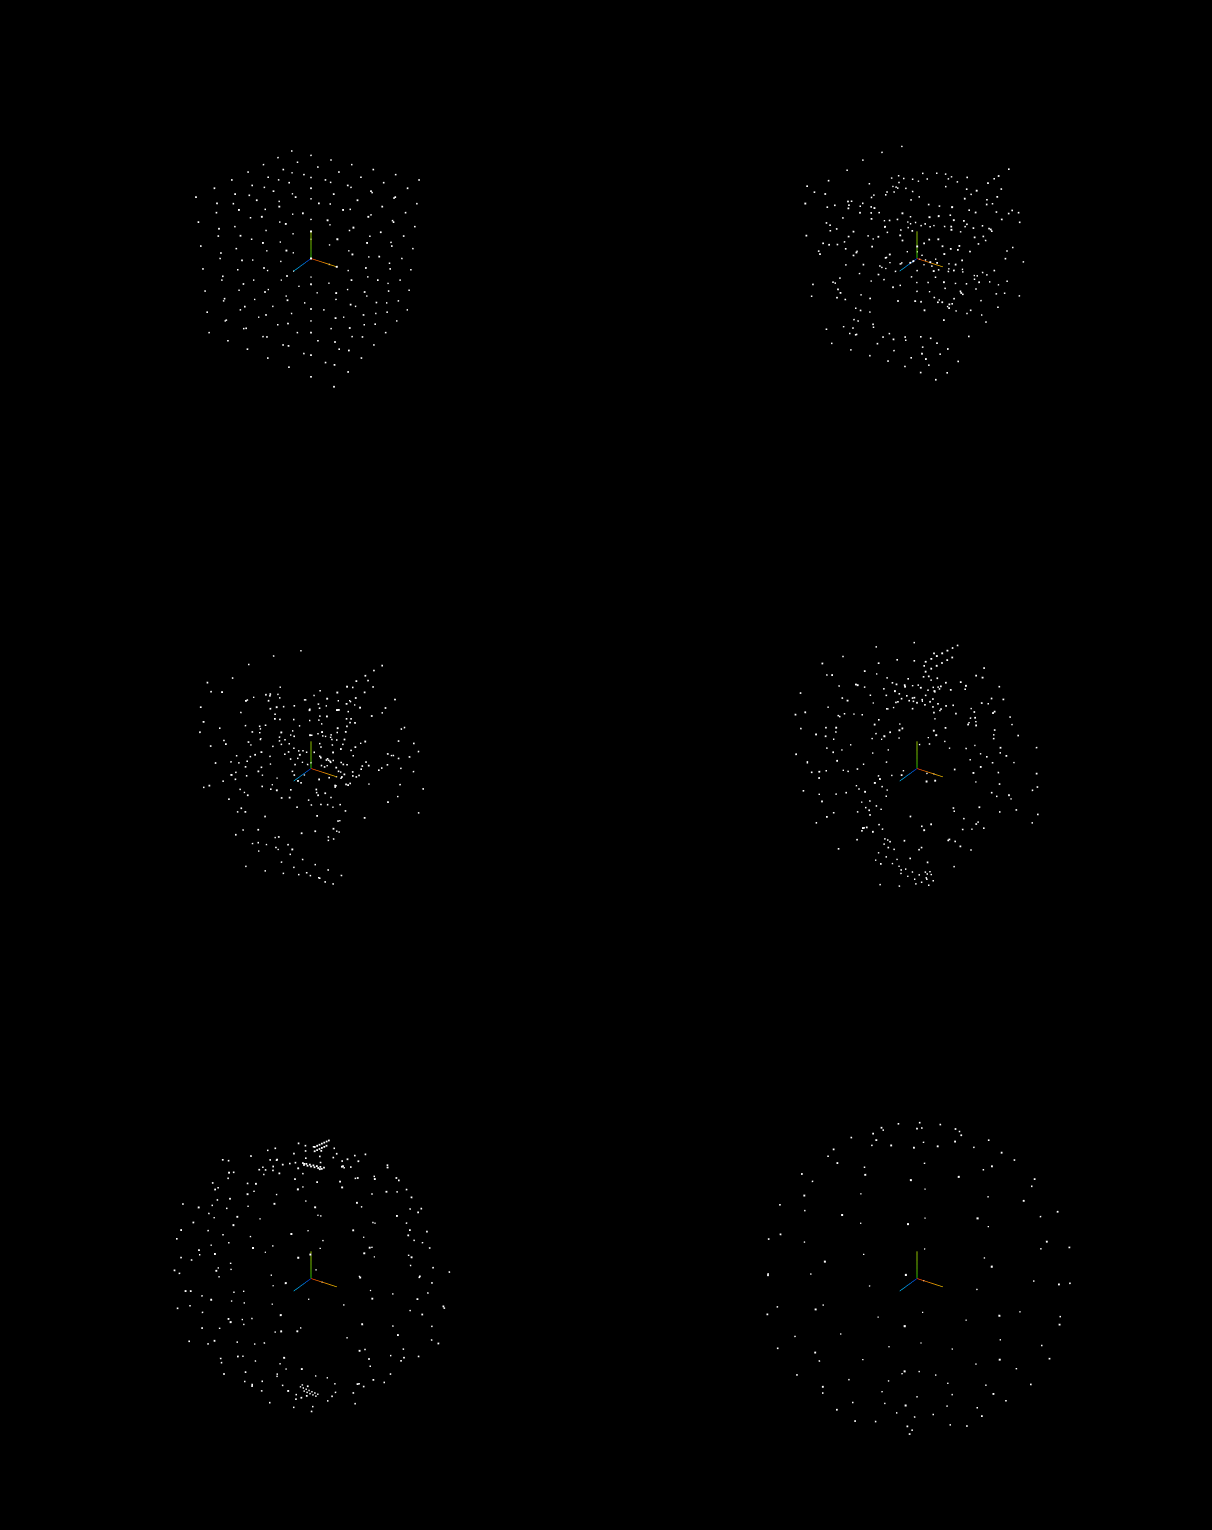
基本的切换效果实现后,我们导入腾讯互动娱乐案例中的模型,就可以实现多个模型之间的切换了,这里不贴代码了,感兴趣的小伙伴可以在文末自取代码。

滚动切换
我们来看下滚动切换的效果是如何实现的,我们需要在js中将切换不同模型的函数slideTo封装传入当前的切换到第几个模型,同时定义isChanging控制切换状态,在Tween.js切换完成后改变isChanging的值:
1
2
3
4
5
6
7
8
9
10
11
12
13
14
15
16
17
18
19
20
21
22
23
24
25
26
27
28
| class Index {
constructor() {
this.isChanging = false;
}
changeGeometry(){
this.isChanging = true;
new Tween.Tween({
...Array.from(this.pt.geometry.attributes.position.array),
})
.onComplete(() => {
this.isChanging = false;
})
}
slideTo(num) {
if (num === 1) {
this.changeGeometry(this.cpgame3Gemotry);
} else if (num === 2) {
this.changeGeometry(this.cpac5);
} else if (num === 3) {
this.changeGeometry(this.cpbook2);
} else if (num === 4) {
this.changeGeometry(this.cpmovie4);
}
}
}
|
在页面上,这里笔者使用的是vue3的代码,我们在页面加载完成后监听dom元素的wheel滚动事件:
1
2
3
4
5
6
7
8
9
10
11
12
13
14
15
16
17
18
19
20
| <template>
<div id="webgl-output"></div>
</template>
<script setup>
import PointsEffect from "./index";
let pe;
let dom;
let step = 1;
const mouseScroll = debounce((ev) => {}, 50);
onMounted(() => {
pe = new PointsEffect();
dom = document.querySelector("#webgl-output");
dom.addEventListener("wheel", mouseScroll);
});
onBeforeUnmount(() => {
dom.removeEventListener("wheel", mouseScroll);
});
</script>
|
在滚动事件中,我们先判断isChanging的值,然后就可以调用slideTo函数切换了。
1
2
3
4
5
6
7
8
9
10
11
12
13
14
15
16
17
18
19
20
| const mouseScroll = debounce((ev) => {
if (pe.isChanging) {
return;
}
const { wheelDelta } = ev;
if (wheelDelta < 0) {
if (step < MAX_STEP) {
step++;
pe.slideTo(step);
}
} else {
if (step > 1) {
step--;
pe.slideTo(step);
}
}
}, 50);
|
总结
我们的粒子效果基本就实现完了,通过一个粒子云的切换效果,我们对Sprite和Points进行了深入的学习;我们发现整个项目的难点还是在于如何计算切换后的粒子云的顶点位置,也就是数学的思维;笔者通过三种不同的顶点计算方式,不断的优化呈现效果,呈现效果上还有待优化;在实际的案例中还加入了漂浮的粒子、后期处理等效果,在边缘有一圈虚化效果,显得更加的高端大气。
本文的最终实现效果可以点击访问
本文所有源码敬请关注公众号【前端壹读】,后台回复关键词【粒子云切换】即可获取。


